HTML

HTML is used to create a foundation for applications and webpages and this is made possible with elements and tags. Think of an html element as an envelope holding the items that are to be deployed. For example, the <body> will hold all the main components that make up your webpage. The tags will always have an opening tag and a closing tag although some can be self-closing. For the <body> tag previously mentioned, the closing tag would be </body>.

Tags can also be used to create lists such as <ul> or unordered lists and <ol> or ordered lists, and they can also be used to link outside sources like CSS and images to your html. CSS is used to make our websites more appealing and we will learn more about that later but it needs to communicate with your html. In order to add this to your html page, you need to link the source directly into your code. Adding an image to your web page can also make it more appealing for the users visiting your application. Like CSS, an image is linked using tags.

Click on the links to the left to begin learning!

HTML Set-Up

The basic structure of HTML can include <head>, <title>, <body>, <footer>, and more.

Tags can also be used to alter the size of the text on the page. For the title, <h1> tags would be used to make the title stand out. For smaller headers we can use <h4> as this will make the font smaller than the title.
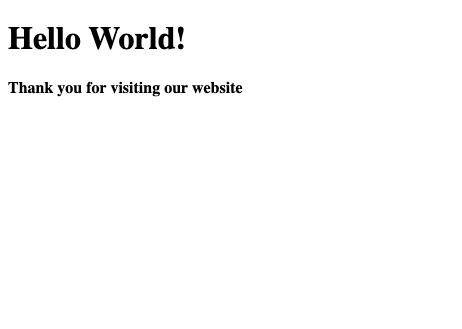
Example image of deployed html code

Here we can see the title of the page is larger than the message below it.

Here's what the code looks like:

<!DOCTYPE html>
<html>
<head>
    <meta charset="UTF-8" />
    <title>Hello World!</title>
</head>
<body>
    <h1> Hello World! </h1>
        <h4> Thank you for visiting our site <h4>
</body>
</html>
                    

List Items

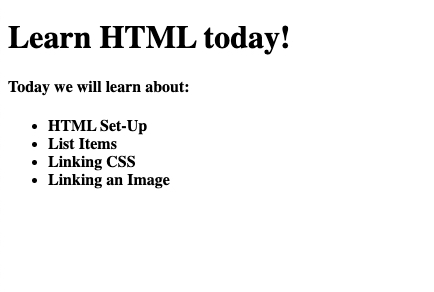
An unordered list can be used to list out bullet points if there is no particular order needed. If you'd like to create an numbered list, this is when the ordered list would come in handy.

The tags used within the <ul> and <ol> tags to enter your information are the <li> tags. These would all be entered within the <body> tags of your html code.

Example image of deployed html code

To change this to an ordered list, we would change the <ul> tag to an <ol> tag.

Here's what the code looks like:

<!DOCTYPE html>
<html>
<head>
    <meta charset="UTF-8" />
    <title>HTML</title>
</head>
<body>
    <h1> Learn HTML today! </h1>
    <h4> Today we will learn about: <h4>
    <ul>
        <li> HTML Set-Up </li>
        <li> List Items </li>
        <li> Linking CSS </li>
        <li> Linking an Image </li>
    </ul>
</body>
</html>
                    

Linking CSS

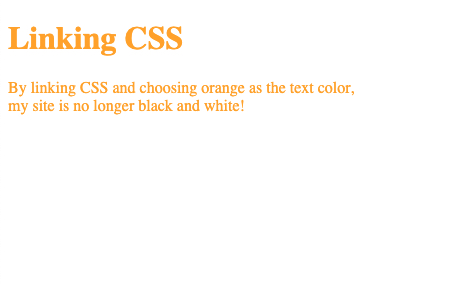
Once you have created your styles.css document and it has been saved to your chosen directory, you must then add the source to the <head> section of your code. In this case, we would use the <link> tag and specify the path to the CSS file you created using an 'href' attribute.

Example image of deployed html code

Here's what the code looks like:

<!DOCTYPE html>
<html>
<head>
    <meta charset="UTF-8" />
    <title> Linking CSS </title>
    <link rel="stylesheet" href="styles.css">
</head>
<body>
    <p> Linking CSS </p>
</body>
</html>
                    

Linking an Image

Once you've selected an the image you want to include and you have saved it to your directory, you will use the <img> tag to to specify the path to the image and enter it in the desired section.

For example, if you're creating an application about HTML and how it works, you can include an image of the logo directly in the code.

Example image of deployed html code

Here's what the code looks like:

<!DOCTYPE html>
<html>
<head>
    <meta charset="UTF-8" />
    <title> Linking an Image </title>
    <link rel="stylesheet" href="styles.css">
</head>
<body>
    <h1> Learn More About HTML </h1>
        <img> src="./assetsWC/image.png"<>>
</body>
</html>