If we want to change our background to gray, we would add that to the body of the page and apply the changes. Colors can be chosen using RGB (red, green, blue) properties or Hex (#). In this example we wanted to targe the body of the page and we used the hex option and the color is #BCBCBC.
Here's what the code looks like:
body {
    background-color: #BCBCBC;
}
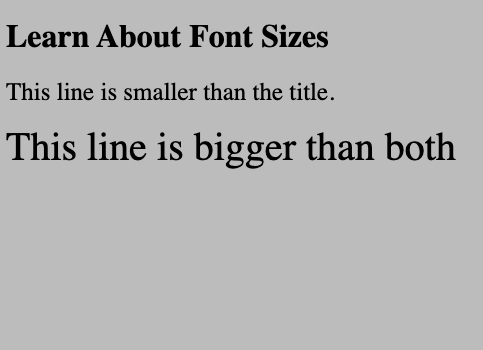
Changing the Font Size
Font size can be changed using pixels (px) or percentage (%) sizes.
In the example we set a class to the first line and used a period (.) to target it in CSS to make the font size 25px. If you use an id instead, this would be targeted with a hashtag (#) which we can see in the example as #line2 with a font size of 40px.
Here's what the code looks like:
body {
    background-color: #BCBCBC;
}
.line1 {
    font-size: 25px;
}
#line2 {
    font-size: 40px;
}
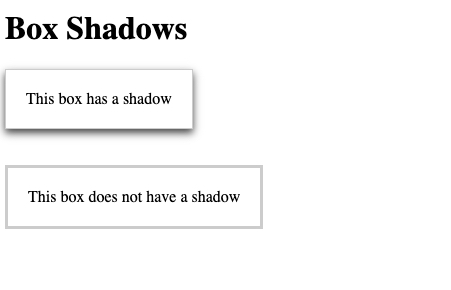
Creating a Box Shadow
A shadow can be added using the "border" and "box-shadow" properties in CSS. With "border" you are creating a solid line around the text. Once the border has been added, "box-shadow" can be used to create a shadow effect.
Here, "border" and "box-shadow" were added to .example1 but only "border" was added to #example2.
Here's what the code looks like:
body {
    background-color: rgb(255,255,255);
}
.example1 {
    display: inline-block;
    border: 1px solid #ccc;
    box-shadow: 0px 4px 8px #444444;
    padding: 20px;
}
#example2 {
    display: inline-block;
    border: 3px solid #ccc;
    padding: 20px;
}
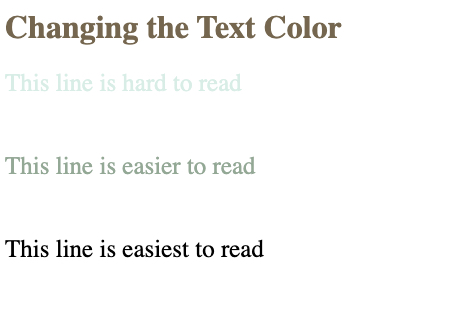
Changing the Text Color
Here we can see the use of both hex(#) and RGB and four different colors against a white background.
The title is brown (#736653) and stands out. Line 2 is a light blue (#DBECE6) and is not very visible. Line 3 is a slightly darker shade (#97A697). Line 4 is in rgb (black) and it is the easiest line to read from all of those examples.
Here's what the code looks like:
body {
    background-color: rgb(255,255,255);
    color: #736652;
}
.example1 {
    color: #DBECE6;
    font-size: 25px;
}
#example2 {
    color: #97A697;
    font-size: 25px;
}
.example3 {
    color: rgb(0,0,0);
    font-size: 25px;
}